CSV files are the most common way operations teams move tabular data between systems. Prowork has two steps for working with them: Pull from CSV file to pull a CSV into your flow, and Generate CSV file to export a CSV at the end of a flow. Both steps handle TSV and semicolon-delimited variants too.
Pull from CSV file
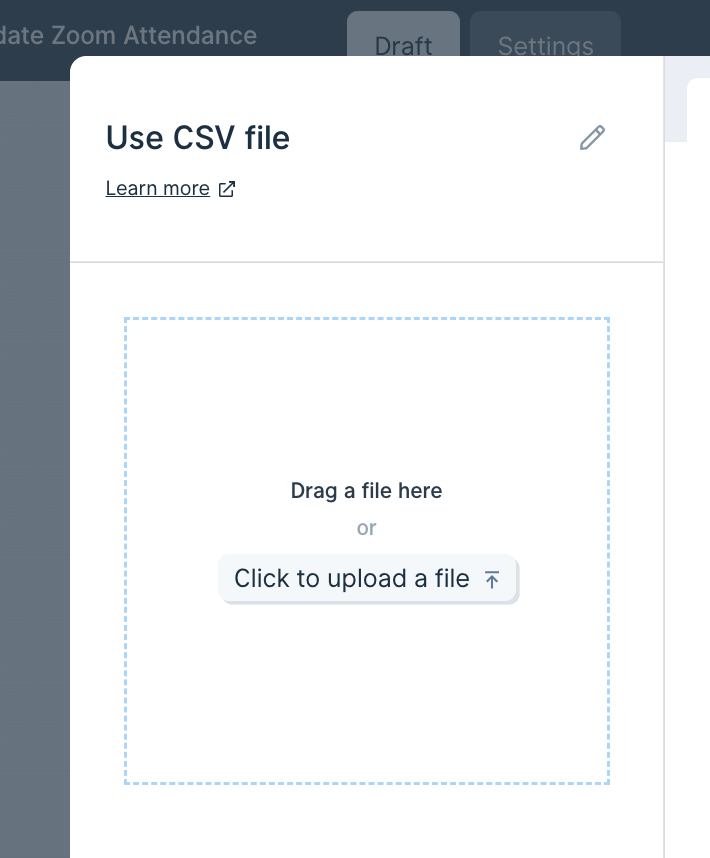
The Pull from CSV file step pulls tabular data from a CSV, TSV, or semicolon-delimited file you upload from your computer. Drop the file directly onto the canvas, or open the step and click “Click to upload a file.”
Configuration
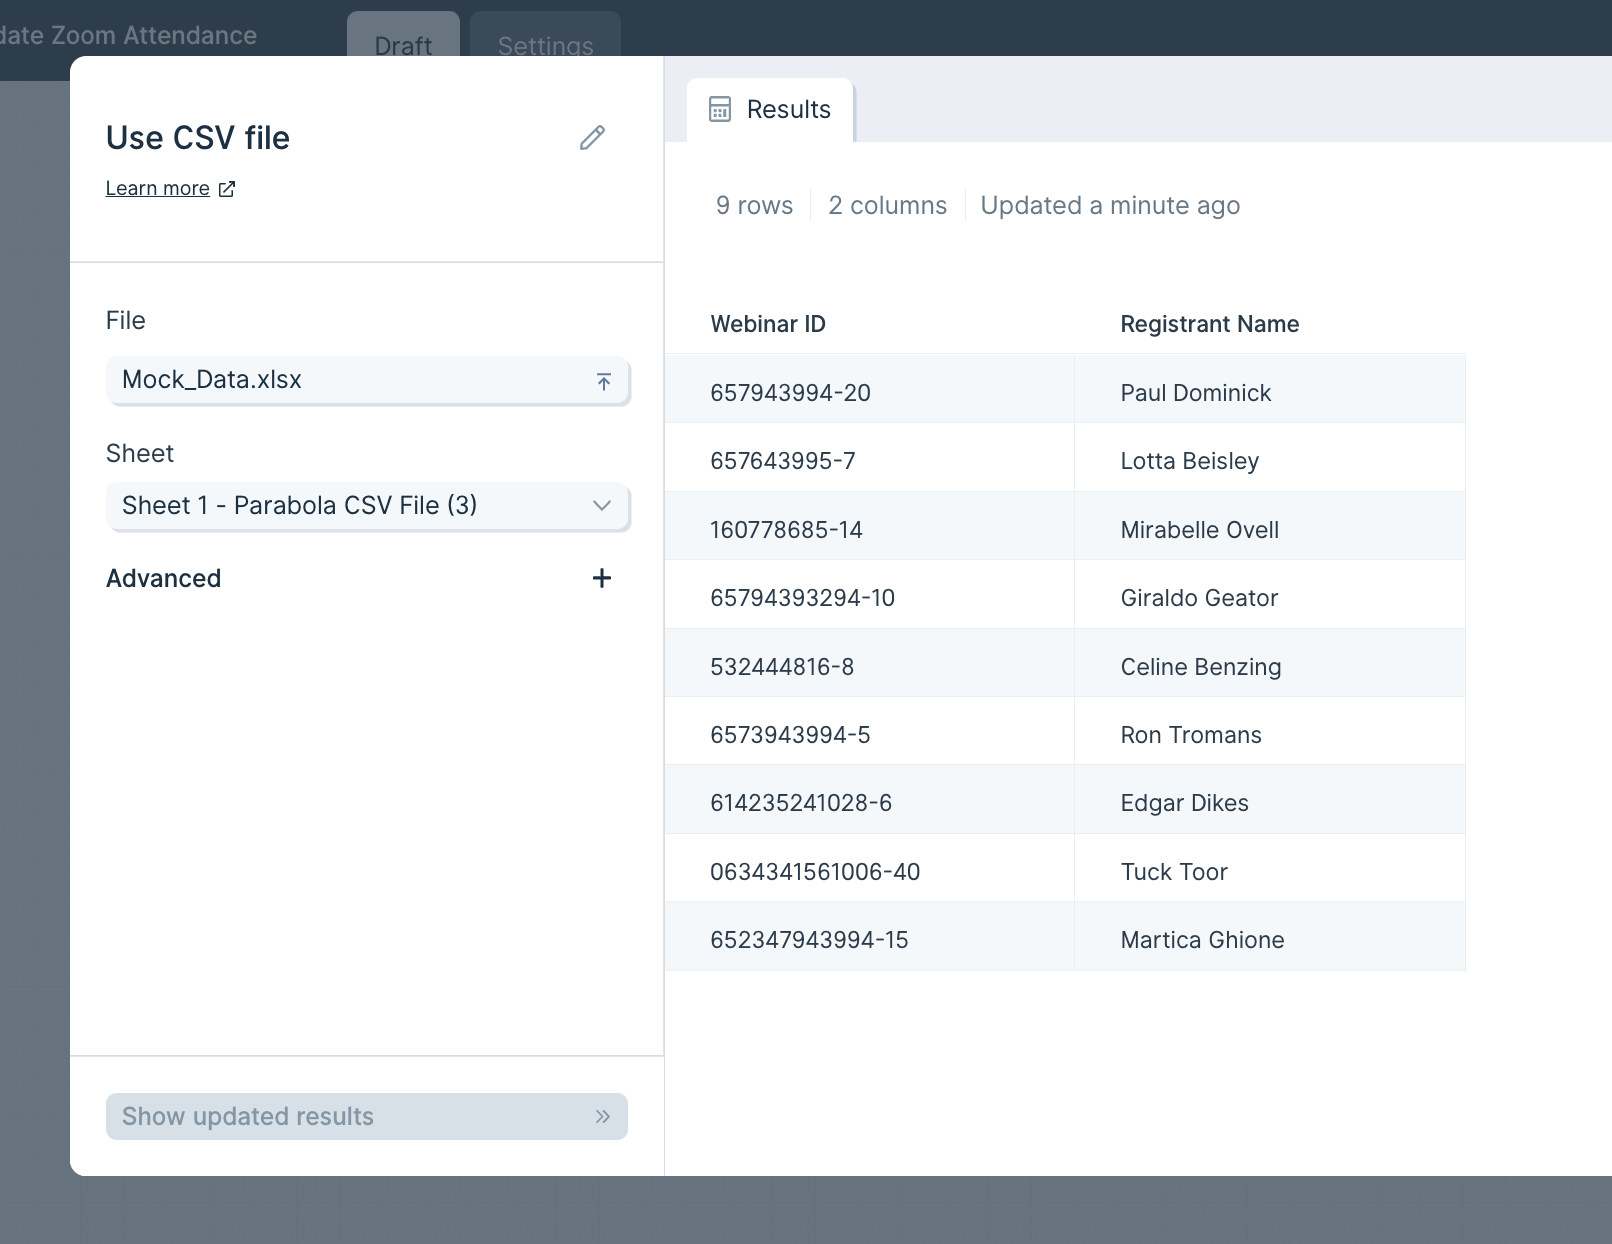
Once a file is uploaded, the Results tab shows your data and two settings appear on the left: File and Delimiter. Click File to swap in a different file at any time. Prowork defaults to a comma delimiter, but you can change it to tab (\t) or semicolon (;) from the dropdown.
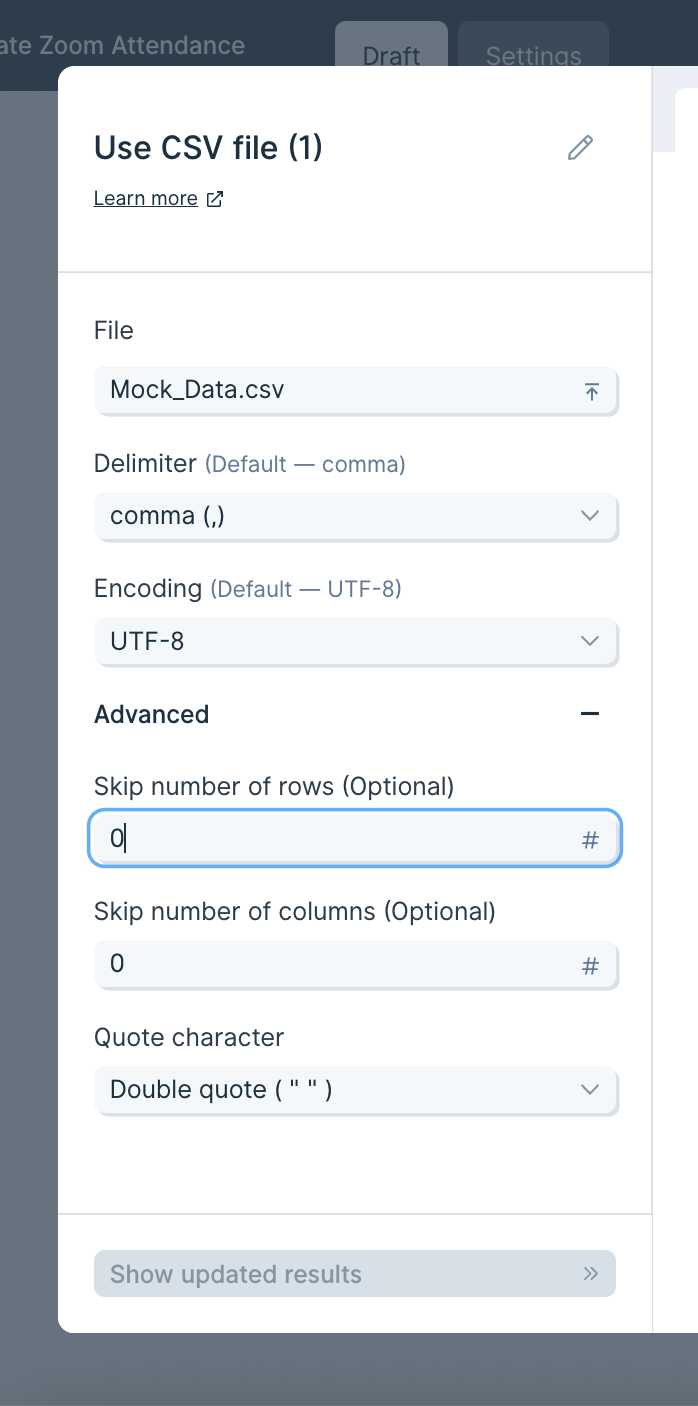
In Advanced Settings, you can skip a number of rows or columns when importing (rows skip top-down, columns skip left-to-right). You can also set a Quote Character to keep cell values that contain commas from breaking the CSV structure.
Helpful tips
- Files don’t auto-update. Prowork can’t pull updates from your computer automatically. If the original file changes, you need to re-upload it. To pull live updates on each run, use a step like Pull from SharePoint, OneDrive, or Google Drive instead.
- Formulas and formatting are stripped. On upload, formulas are converted to their values and any formatting is dropped.
- Storage and security. Uploaded files are stored in an Amazon S3 bucket so the data is still loaded the next time you open the flow. All connections use SSL and are encrypted.
Generate CSV file
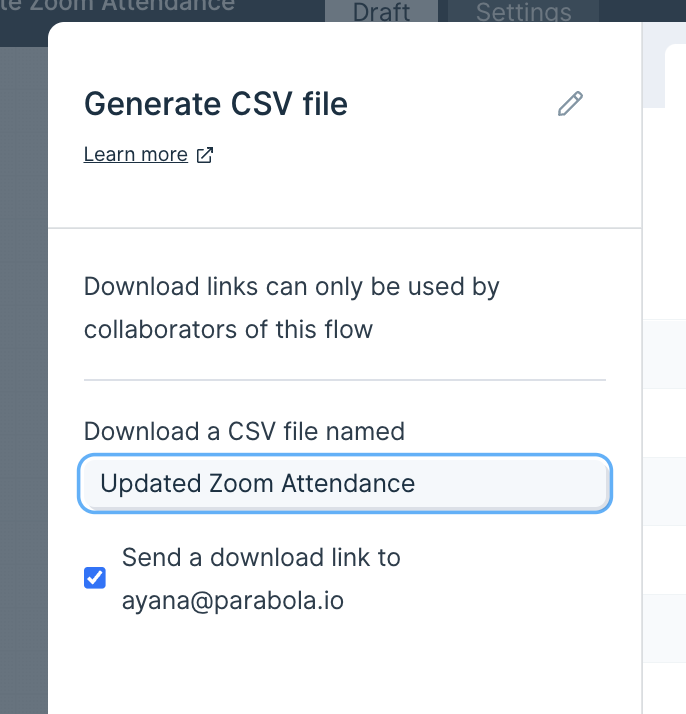
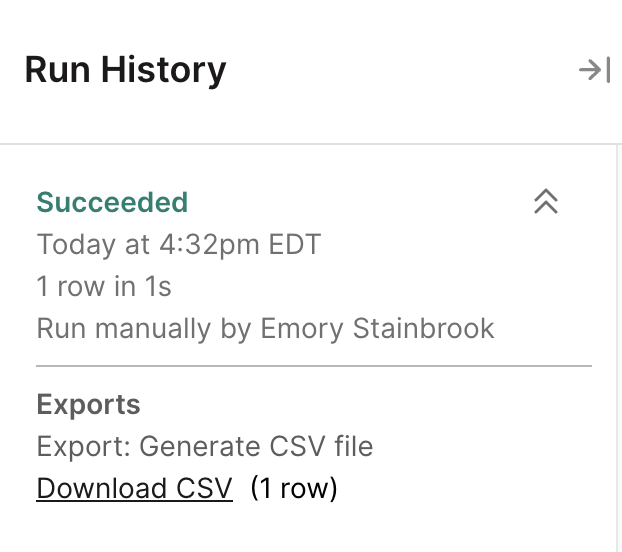
The Generate CSV file step exports the data flowing into it as a CSV at the end of a flow run. Once the flow runs, the file is available in the flow’s Run History and can optionally be emailed as a download link to the flow owner.
Configuration
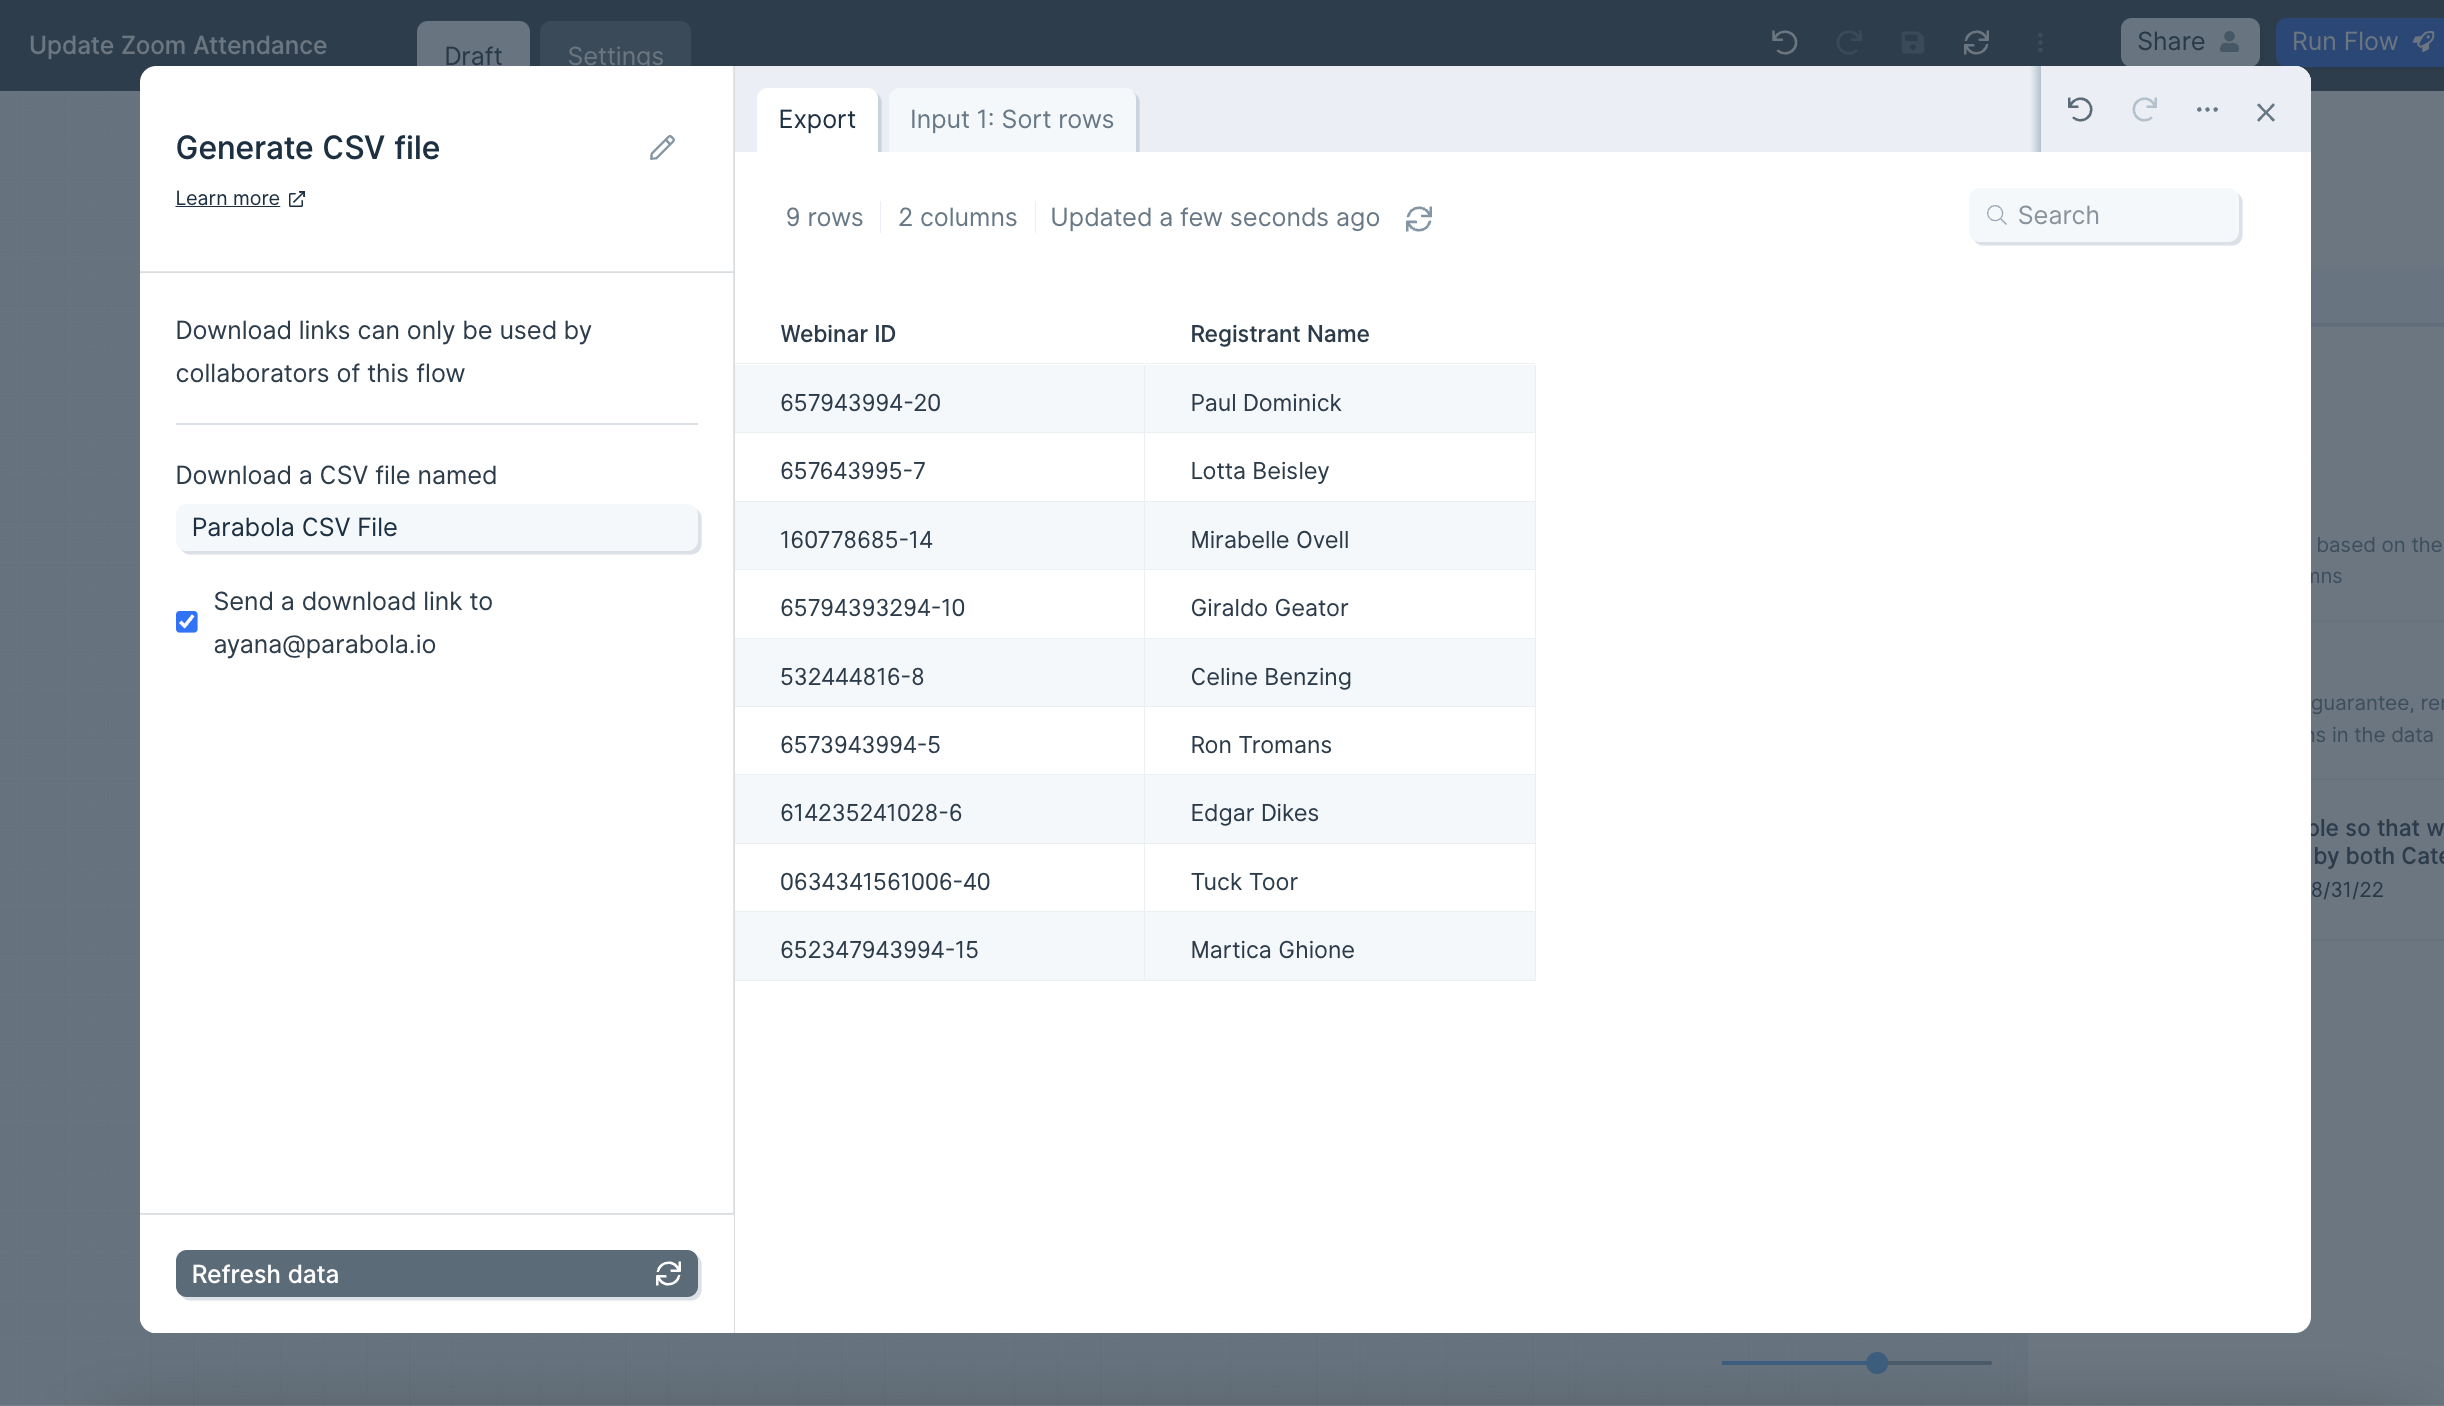
Connect any step to Generate CSV file and the step shows a preview of the data that will be exported.
The generated file’s name matches the step’s title. Double-click the step title to rename it.
After publishing and running your flow, download the file from the Run History panel. Past runs of this step are kept there too. You can optionally email a download link to the flow owner. Note that the link expires after 24 hours.
Helpful tips
- Zero-row runs do nothing. If the input has no rows, no file is generated and no email is sent.
- One input per step. Each Generate CSV file step accepts a single input. To export multiple branches, add a separate Generate CSV file step for each one, or use Generate Excel file, which accepts multiple inputs and writes each to its own tab.
- Files are stored in S3. Generated files are saved in an Amazon S3 bucket so they reload the next time you open the flow. Connections use SSL and are encrypted.
- Generate Excel file: for multi-tab exports or when recipients prefer XLSX
- Email a file attachment: to email a CSV directly to recipients
- Send to Google Drive: to drop the file into a shared folder
- Send to FTP: for files that need to land on a partner’s SFTP server
- Filter rows: to trim the dataset before export
- Edit columns: to control which fields end up in the CSV
Last modified on August 28, 2026