Edit columns
The Edit columns step allows you to keep or remove columns, rename them, and then reorder those columns – all in one step!
This step replaces the following steps: Select columns, Rename columns, and Reorder columns.
Check out this Parabola University video to see the Edit columns step in action.
Keep or remove columns
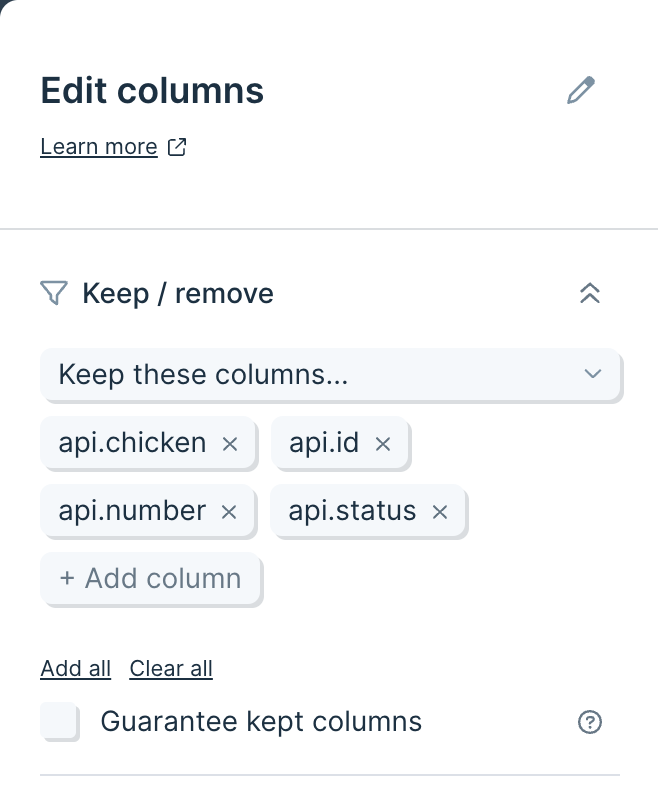
When you first connect your data into the Edit columns step, the 'Keep / remove' section will auto-select to Keep all columns. From the dropdown you will have 3 options:
If you choose 'Keep all columns', you will see all of the columns in your data present.
Choosing 'Keep these columns...', will allow you to select the columns that you would like to keep. You can use the 'Add all' or 'Clear all' button if you need to bulk update or clear your selection.

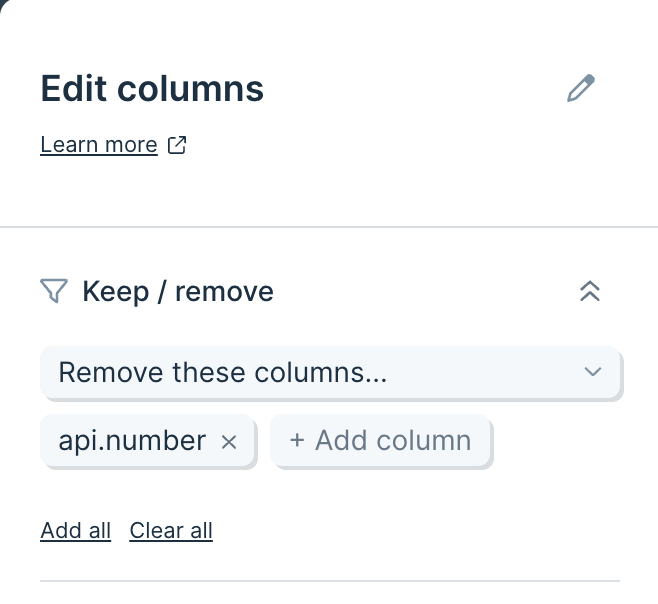
The 'Remove these columns...' option will remove selected columns from your table. There are 'Add all' and 'Clear all' options that you can use to list all columns, or clear your selection.

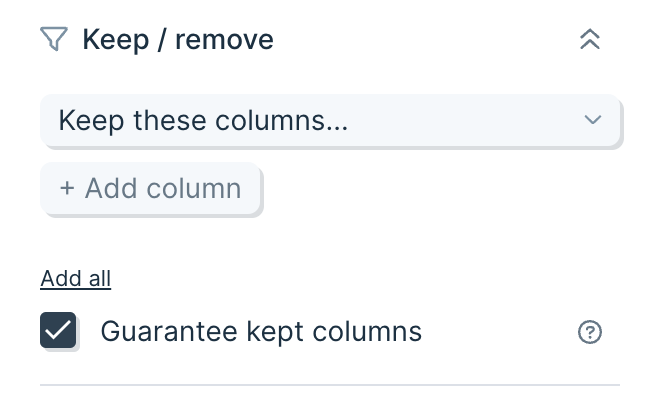
There is an option to 'Guarantee kept columns'. Guaranteed columns are kept even if they are absent in subsequent runs (e.g., due to an API that doesn’t include a column of data if it’s blank). Check the box to keep your columns even if they are later missing from the data you are pulling in.

Rename and reorder columns
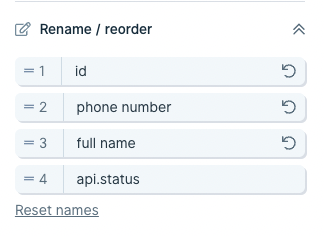
From the 'Rename / reorder' section of the step, you can update the names of your columns. To do this, click the name of the column, and type to update. If you need to revert the names of your columns, you can do so individually by clicking the counterclockwise arrow next to the column name, or in bulk by clicking the 'Reset names' button.

To update the order of your columns, click and drag the handles ('=') to the left of the column positions and drag into place. Alternatively, you can click the position number and type in a new number. You can revert the column order by clicking 'Reset order'.
By default, any new columns will be placed at the end of your table of data. If you disable this checkbox, only columns that you have explicitly moved to new positions will be reordered, and all other columns will attempt to position themselves as close to their input position as possible.
.png)
When this checkbox is disabled, any column that has been moved into a specific position will show a bold drag handle icon and position number.
.png)
Disabling this setting is best used when you know you need specific columns in specific numerical positions, and do not want to reorder the other columns.
If you have an Edit Columns step that existed prior to this change, disabling the checkbox will show all columns with bold positions, indicating that they are all in set locations. To fully take advantage of this feature with an existing Edit Columns step, disable the checkbox and click “reset order”. Resetting this step will allow you to place columns in exact positions.