Cards
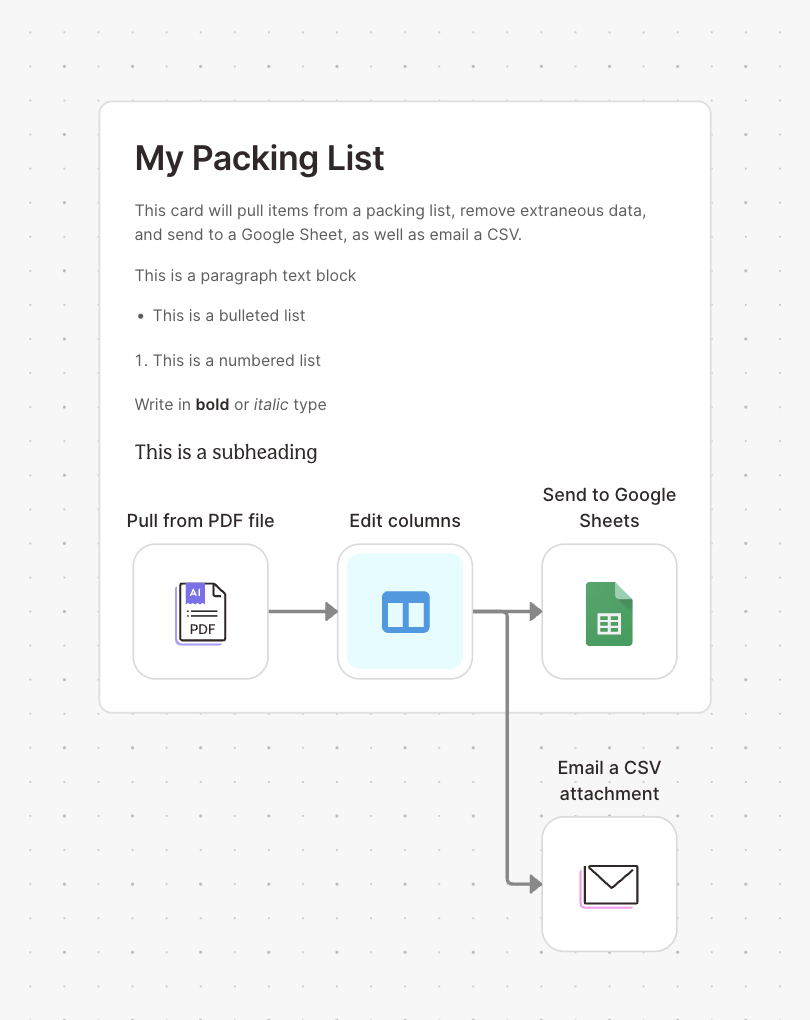
Organize your flow into grouped steps and use rich-text formatting to add context or instructions. Within each card, you can include title headers, bold or italicized text, and bulleted or numbered lists.
How it works
Cards help you organize your flow visually and provide helpful context for anyone viewing or editing it. They don’t affect how your flow runs—they’re purely for structure and clarity.
You can connect steps inside and outside of cards. The arrows that connect steps behave the same way, regardless of whether a step is inside a card or not.
When you add a new card, it starts with a heading labeled “Untitled Card” and a text block where you can add rich text.
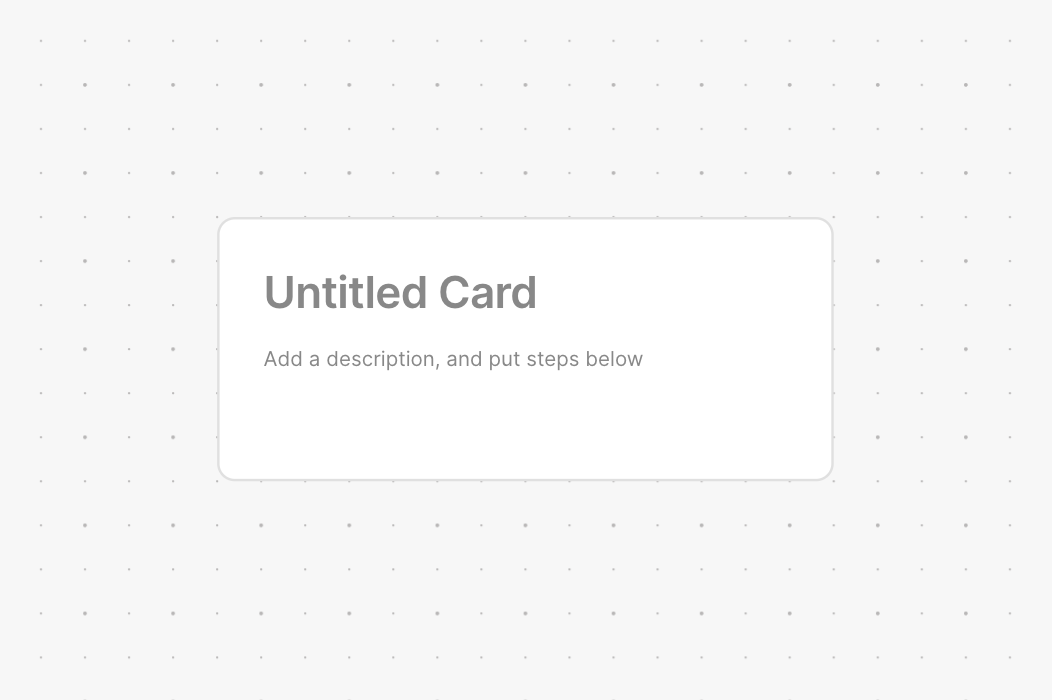
Adding a step to the card
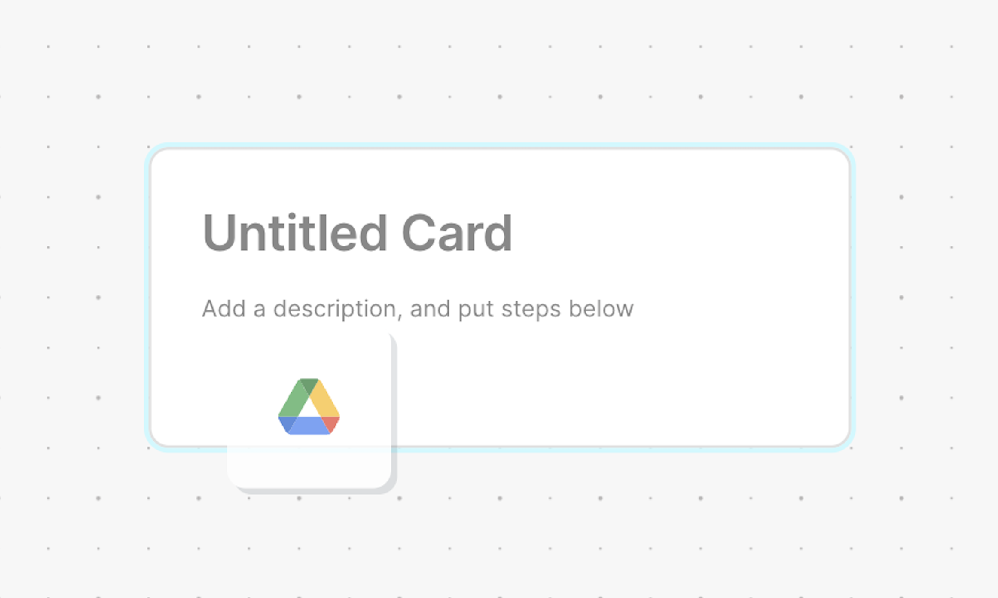
To add a step, drag it over the card. A light blue outline appears to show that you can drop it inside—the step will then snap into place.
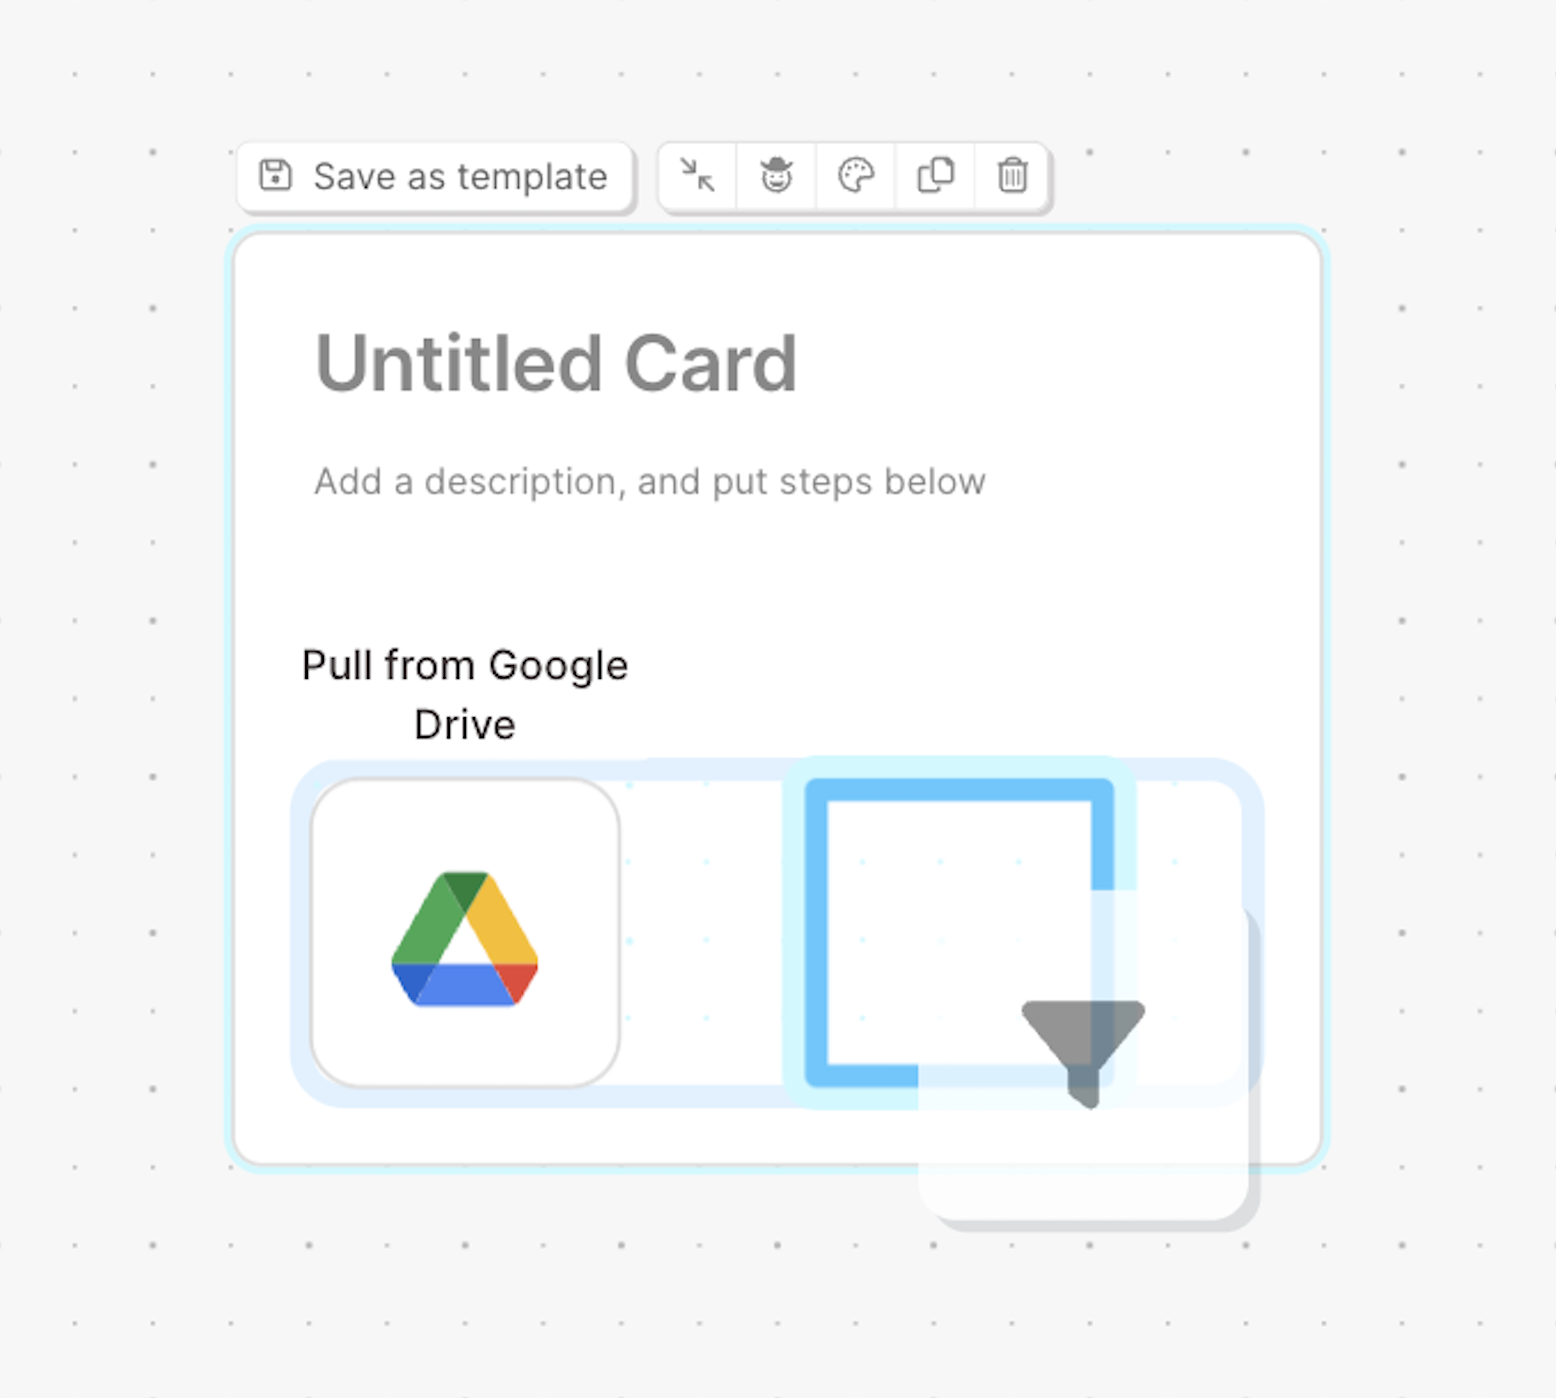
Once the first step is added, a blue box appears inside the card to indicate where new steps can go.
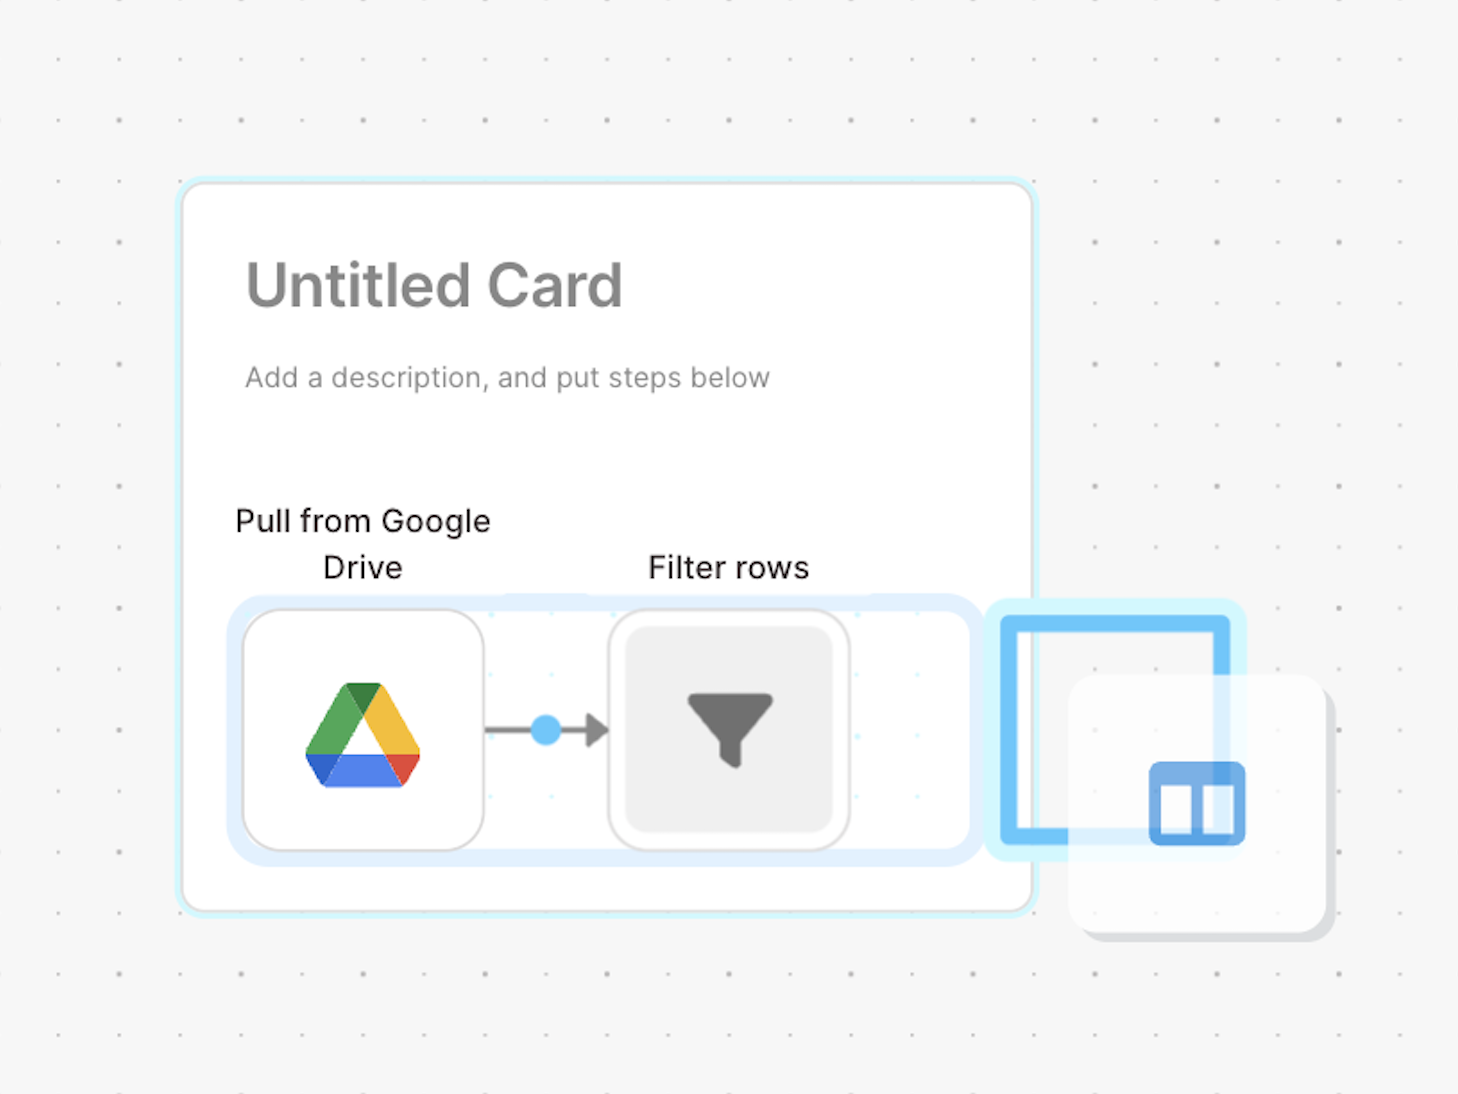
To expand the card, drag a step so it overlaps the inner blue box border or the edge of the card itself.
Adding rich-text formatting
To add rich-text formatting to your cards, click into any text box inside the card, then select the three-dot menu that appears.
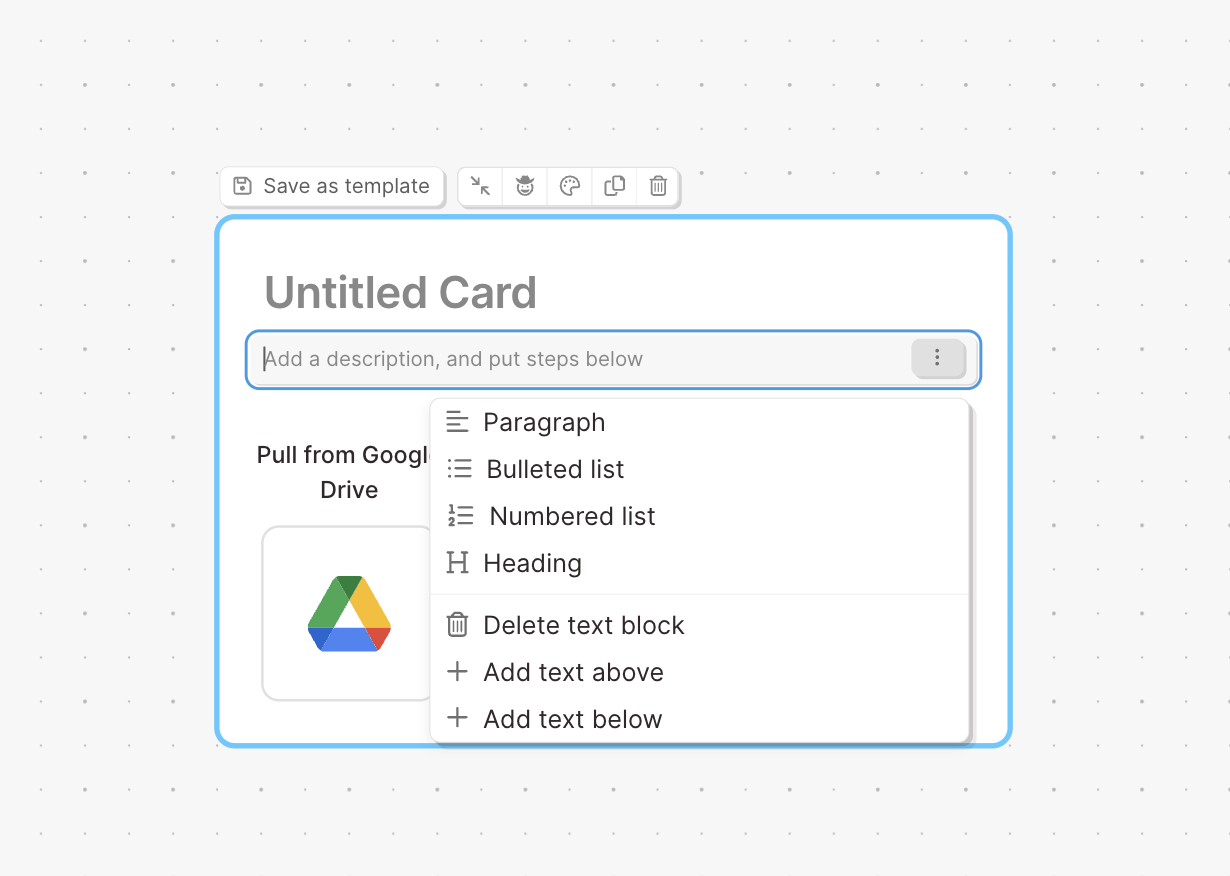
From here, you can:
- Format text as a paragraph, bulleted list, numbered list, or heading
- Add a new text box above or below the current one
- Delete a text block
Opening/closing a card (collapsing/expanding)
You can’t manually resize a card—its size adjusts automatically based on the number and arrangement of steps inside it.
To close (collapse) a card, hover over the card and click the collapse icon (two arrows meeting in the middle). The collapsed card keeps its title visible but hides all steps inside, reducing the card’s size.
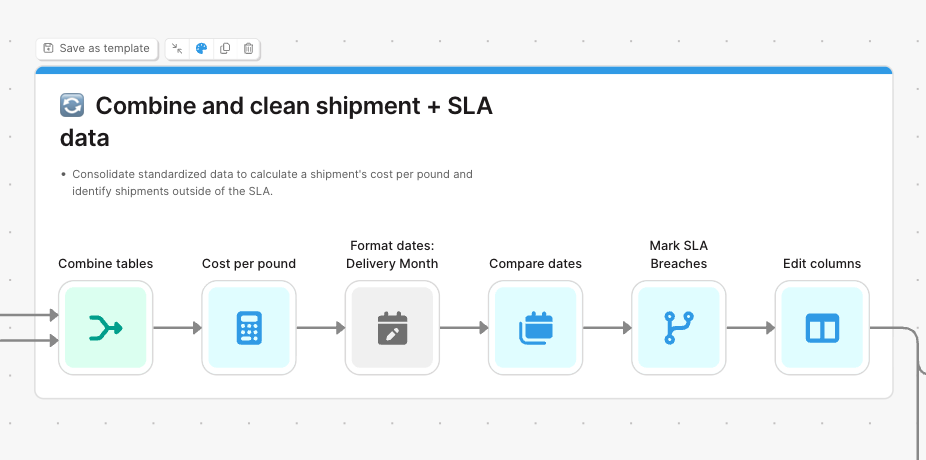
To reopen the card, click the expand icon (the same arrows now pointing outward).
Add color to your card
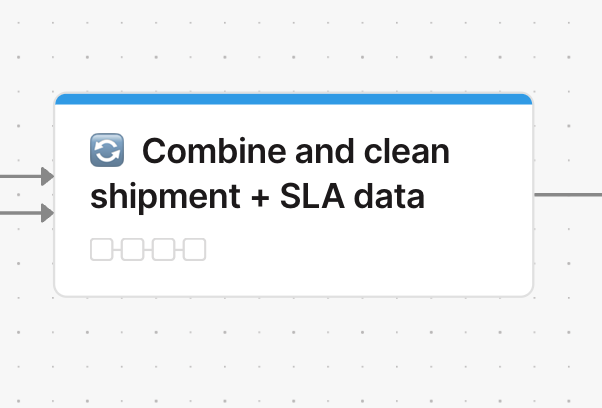
You can use color labels to visually organize your flow or highlight related sections.
To add a color banner to a card, click the paint palette icon and choose a color from the menu. The selected color will appear as a banner across the top of the card.
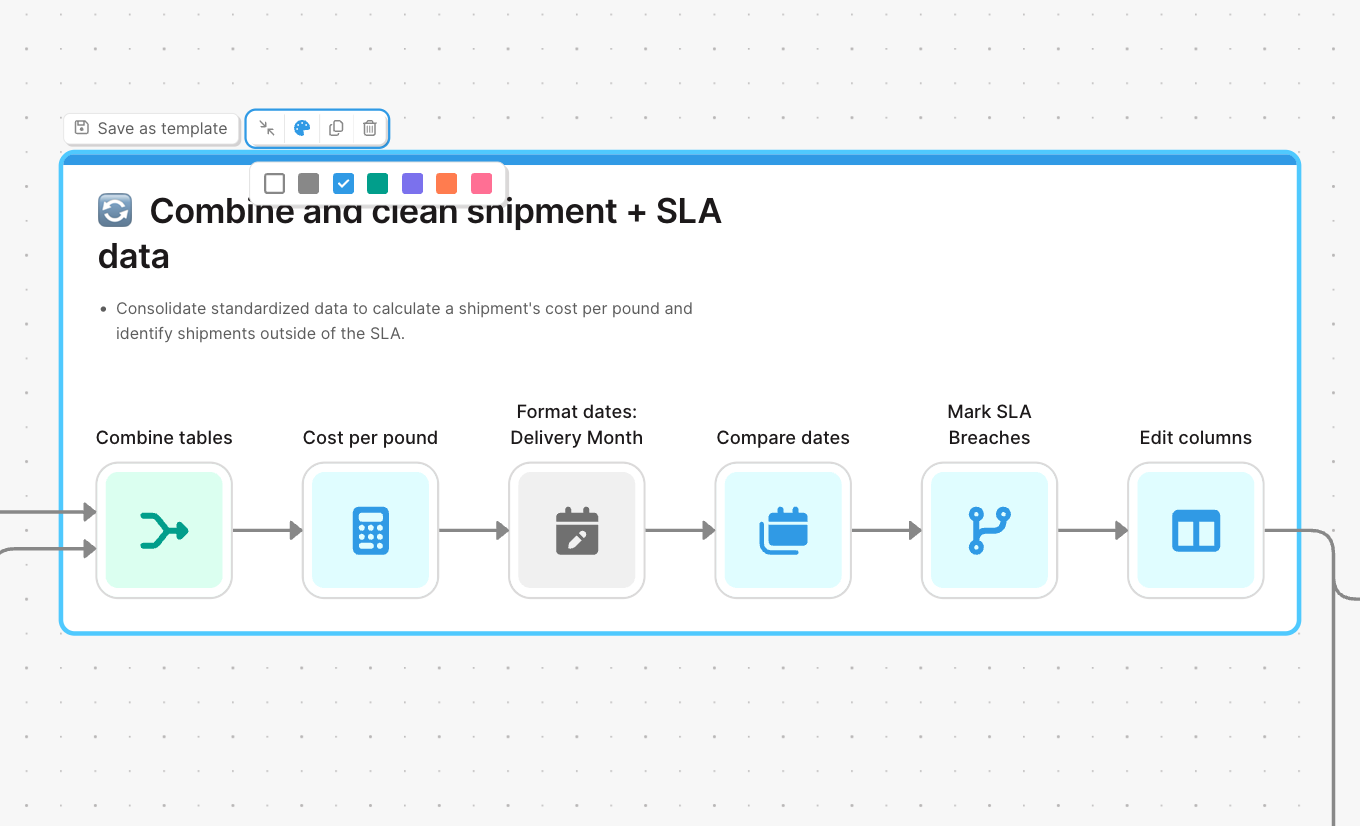
Duplicate a card
To duplicate a card, hover over it and click the duplicate icon (two overlapping squares). This creates a copy of the entire card—including all steps and text inside—so you can reuse it in another part of your flow.
Delete a card
To delete a card, hover over it and click the trash icon. This removes the entire card—including all steps contained inside.
If you want to keep the steps but delete only the card, drag the steps out of the card first, then delete the empty card.
Helpful tips
- Italicize text with ⌘ + I (Mac) or Ctrl + I (PC)
- Bold text with ⌘ + B (Mac) or Ctrl + B (PC)
Card templates
Save cards with steps and documentation to re-use them in the same flow, or any other flow. Card templates can be used by anyone on your team, and can be updated by the original author.
What are card templates
Card templates are great for sharing common data sources, re-using bits of Flows, sharing documentation, and keeping flows up to date.
Templates can be any card that you have decided to save.
Card templates can contain just documentation, just steps, or both.
Why use Card Templates
Use card templates when you find yourself doing the same thing multiple times in the same Flow, or across multiple Flows.
Sometimes when building a Flow, you will need multiple branches of the Flow to use the same logic. You could just copy and paste the steps, but if you instead create a card template, each of those branches is assured to run identically. If you need to make an update to all of the branches, you can just update the card template, and then accept the update on each branch.
Card Templates are also useful for re-using authorization in steps. You can save cards that contain authorized step, like API steps, Shopify, or databases, so that you and your teammates do not need to re-add the auth to ever flow that you use that step in. Sharing auth credentials in a template is optional.
Card Templates do not need to have any steps in them. Use them as a shared source of documentation or best practices that can be kept up-to-date easily.
How to use Card Templates
Creating a Card Template
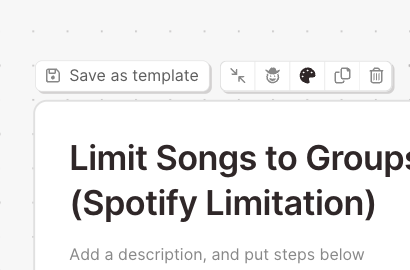
Convert any card into a Card Template by clicking on the "Save as a template" button that appears above when you hover over or click on the card.
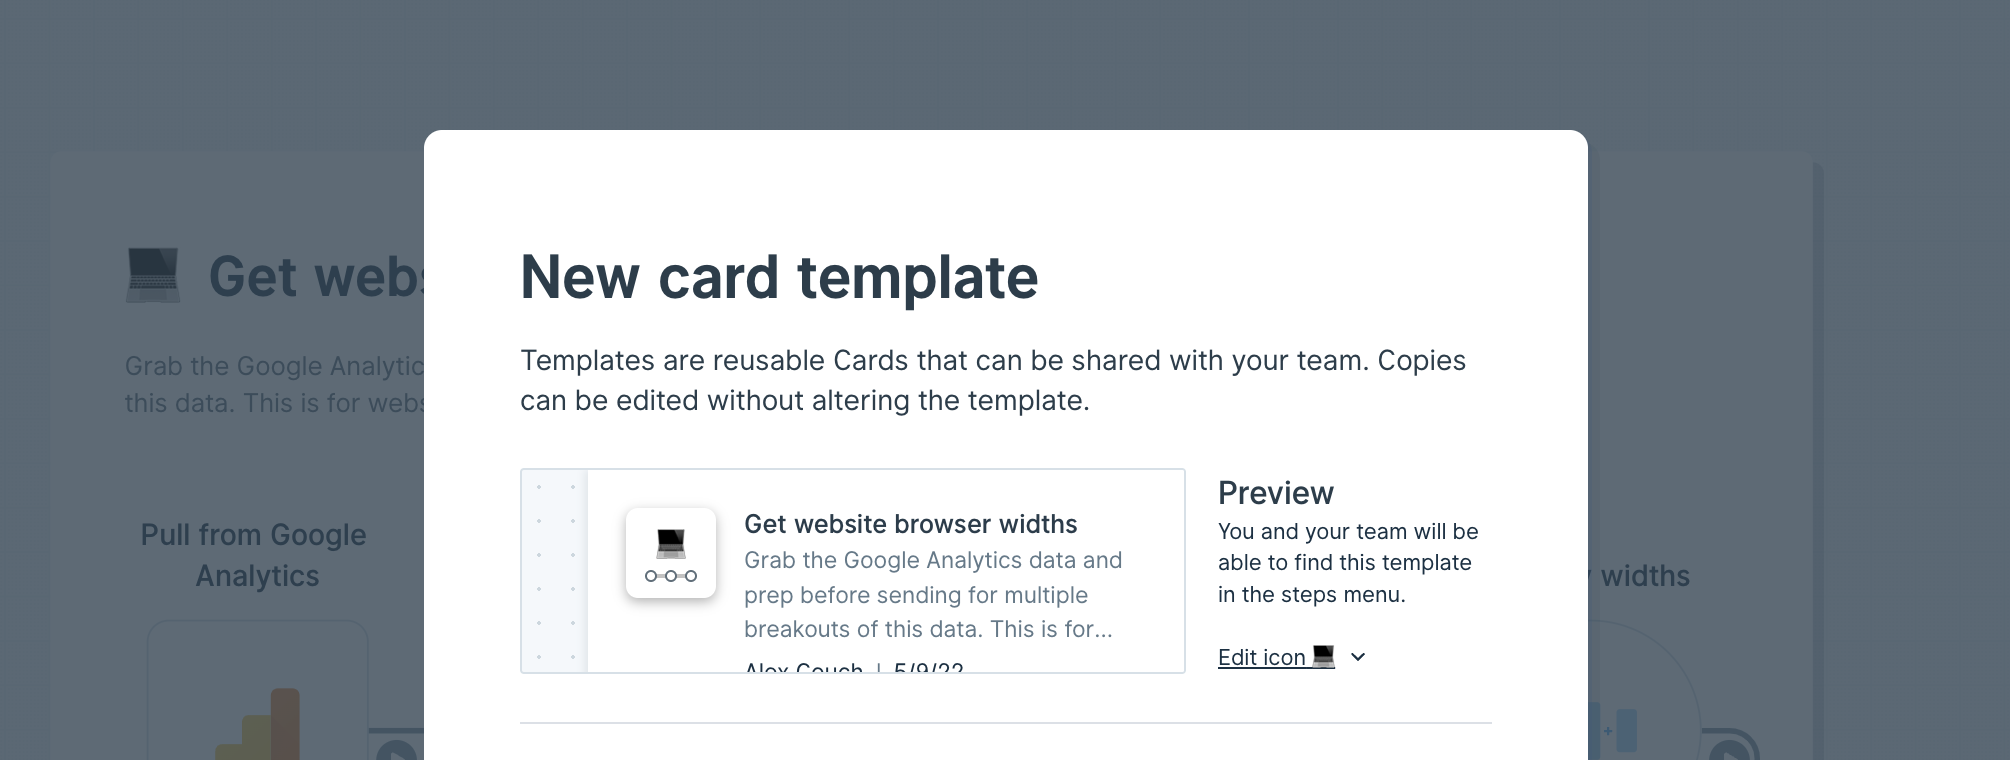
When creating a card template, the title of the card will become the title of the template, and the first bit of text in the body of the card will be used as a description.
If your card contains any step with saved authentication, an accordion will be available in the "New card template" menu, where you can choose to share all authentications in the card, or not. By default, authentications are shared.
If your card does not have an emoji on it, then your card template will select one at random. You can adjust that selection in the menu. Card templates are required to have an emoji.
Once you save the Card Template, it will be immediately available for yourself and anyone on your team from the builder toolbar.
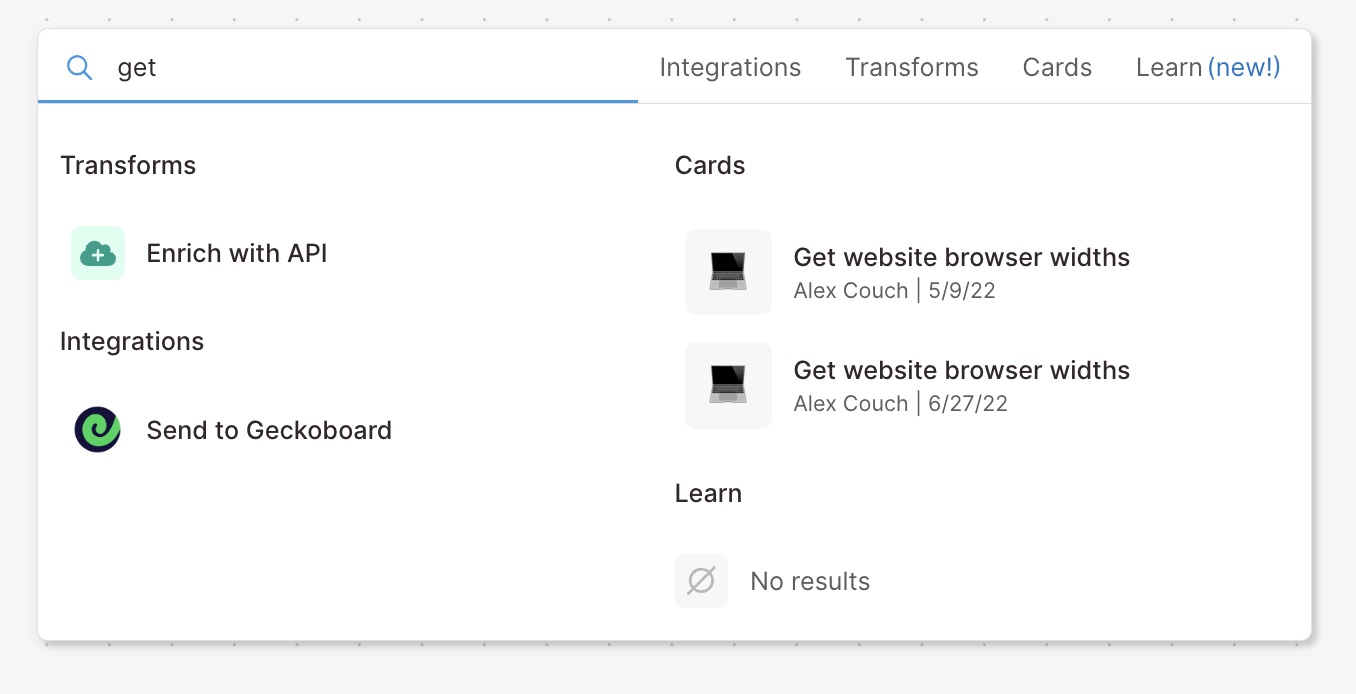
As an author, you can always access the menus for your card templates to see how many flows are using each template
Shared authentications in card templates
When a card template is enabled to share authentications, your teammates can pull that card template into their Flow and use source and destination steps without needing to re-authenticate.
When using a card template that is sharing authentications, you must keep the authenticated steps inside of the Card Template. If you move the step out of the card template, it will lose access to its authentication. Moving the step back into its card template will allow it to authenticate again.
Cards that have been unlinked from their template will lose access to the template's authentications.
Using a card template in a flow
From the builder toolbar at the top of the page, click on the "Cards" tab to pull up a list of all available card templates, as well as the "Add a blank card" button.
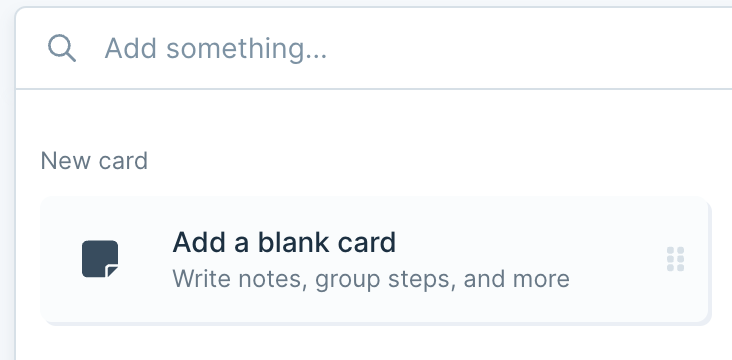
Card templates can also be found by typing in keywords via the builder toolbar search.
To use, simply drag a template in from the builder toolbar to place it on to your canvas, or click it to add it to the center of your canvas.
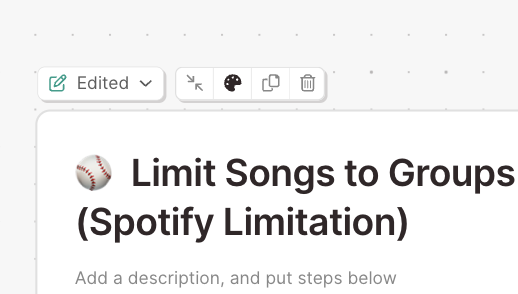
Card Templates will be added to your flow exactly as they were saved by the author. You can, however, make any changes to that card. When you do so, you will see that the template tag at the top of the card, will say "Edited".

By clicking on the template tag at the top of the card (where the template status is shown), you can see options to revert the card back to the current unedited version in the sidebar, or compare it to the unedited version. Reverting your card will replace it with a fresh copy of the template and break all connection arrows that enter or exit the card. Comparing it will place a fresh copy of the template nearby for you to compare your card to.
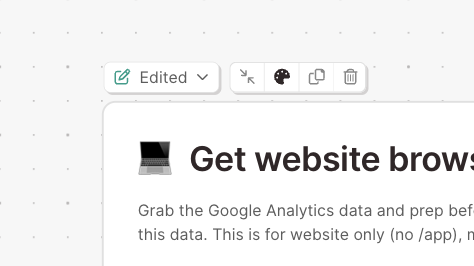
You can also unlink this card from the template system, which will turn it back into a normal card. An unlinked card can be re-saved if you wish to make it into a new template.
Updating a card template
Authors of the original card template can push new updates.
From any edited version of a card template, in any flow, the author of that template can choose to "Save edits to template".
Doing so will pull up the "Save edits to card template" modal, and will show you a summary of your changes, along with a summary of the usage of that card.
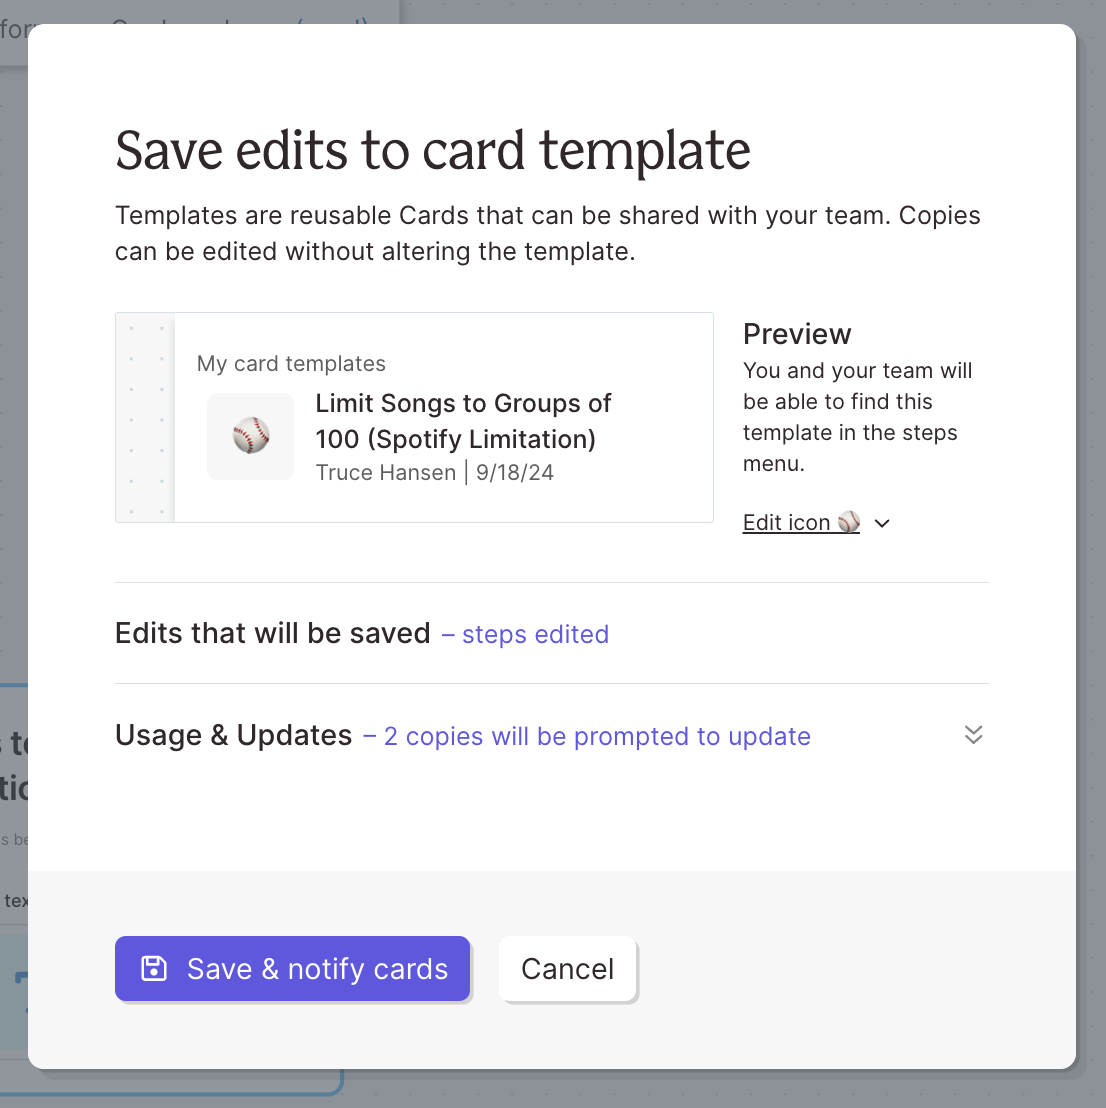
When you save your changes, every instance of that template will have its tag changed to "Update available".
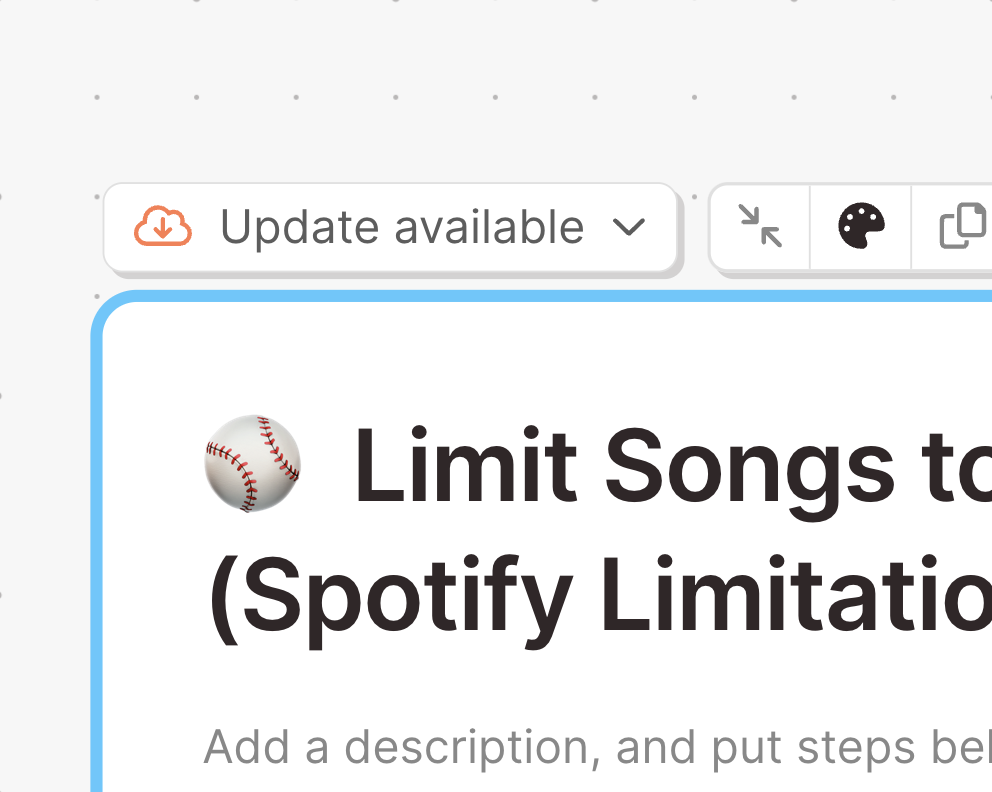
Those card templates will continue to work as expected. Editors of flows using templates with updates available can choose what they would like to do with those updates. In the template menu, they can compare the new template to their own, which will insert a copy of the updated template nearby, or to update their template, which will replace their card with a fresh copy of the updated template. This option will remove any arrows connecting into or leaving the card.
Archiving a template
Authors can also choose to archive a template, which will remove it from the builder toolbar. To do so, click on the archive icon when hovering over any of your templates in the cards section.
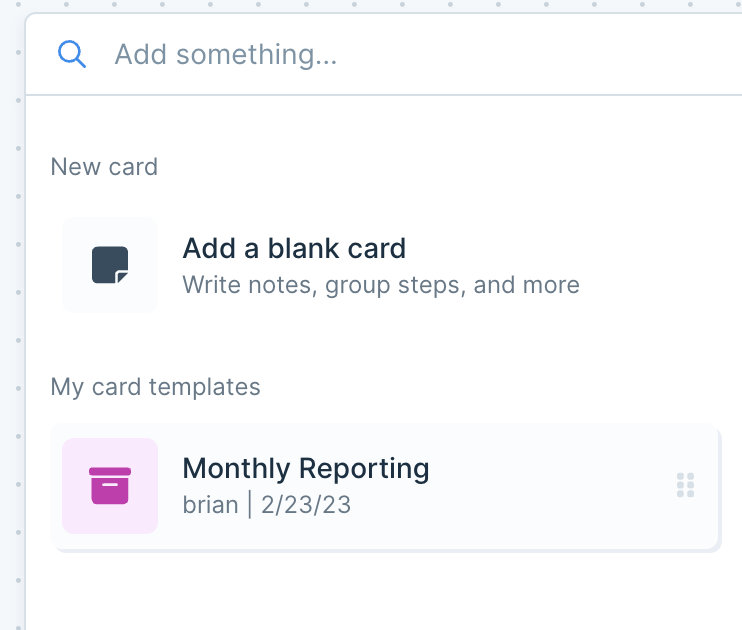
Archived templates that are already in use in flows will continue to work, but will not be able to get any more updates.
Authors can undo this action by finding an instance of the card template in a flow, and clicking on the option to restore it.