
Salesforce Integration
What is Salesforce?
Salesforce is a leading customer relationship management (CRM) platform that helps businesses manage sales, marketing, and customer support operations. It provides tools for tracking leads, automating workflows, and analyzing customer interactions, making it a powerful solution for businesses looking to improve customer engagement and streamline operations.
How to use Parabola's Salesforce integration
Parabola's Salesforce integration helps businesses automate CRM workflows and optimize data management.
- Import and sync Salesforce contact, deal, and opportunity data automatically
- Transform and segment CRM data for better reporting and insights
- Sync Salesforce data with other business tools to enhance automation and customer engagement
Learn more about Parabola’s Salesforce integration below. Note that our Salesforce integration uses OAuth/API based integration. You do not need to add an additional license in Salesforce to be able to leverage our integration.
Pull from Salesforce
The Pull from Salesforce step gives you the ability to bring data from your Salesforce CRM into Parabola by object type and fields. You can also filter your results by a selected View which can be set within Salesforce.
Connect your Salesforce account
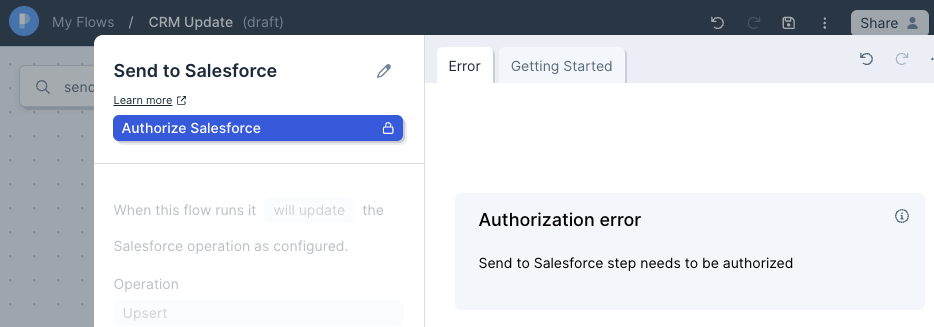
Connect your Salesforce account by clicking Authorize and following the prompts to log in with your Salesforce details.

Custom settings
When pulling in data from Salesforce, you can select the Object Type and View. Object Types are based upon the objects you would find in Salesforce, for example, Accounts, Opportunities, and Contacts.
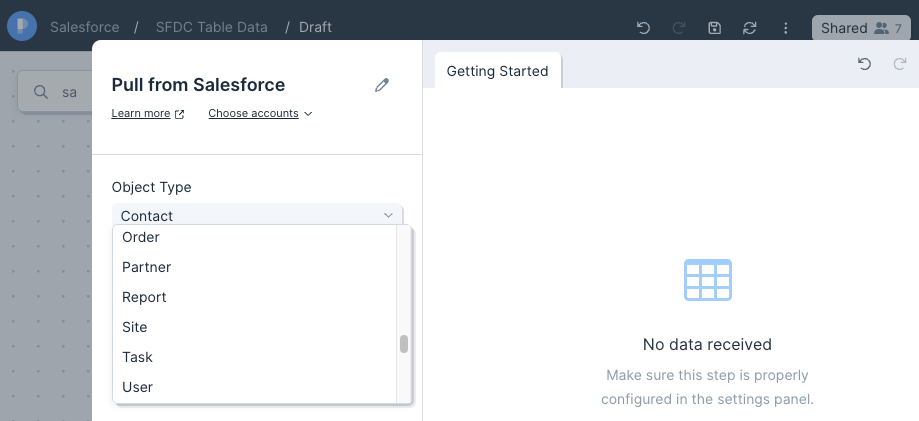
Views give you the ability to trim down the results of your pull using Salesforce's native View criteria as a filter.
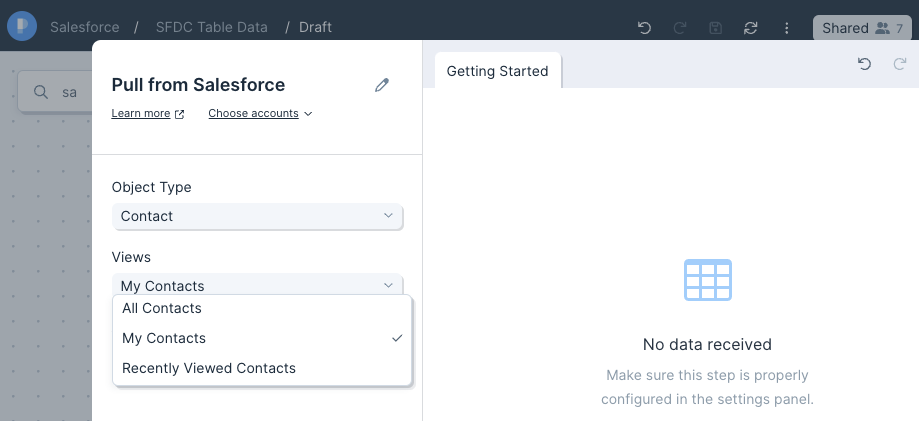
Your data will return in the same structure as your View within Salesforce. Under "Advanced Settings", you'll see the ability to choose the Fields that return with your data. This will override the default structure set from your selected View.

Helpful tips
- The Pull from Salesforce step will not connect to Salesforce Essential accounts.
- Reports are limited to 2000 rows by the Salesforce API. To overcome it, you need to pull in the underlying objects into Parabola with Pull from Salesforce step and recreate the logic of the view.
Send to Salesforce
Use the Send to Salesforce step to add or update data from Parabola to your Salesforce CRM.
Connect your Salesforce account
Connect your Salesforce account by clicking Authorize and following the prompts to log in with your Salesforce details.
Default settings
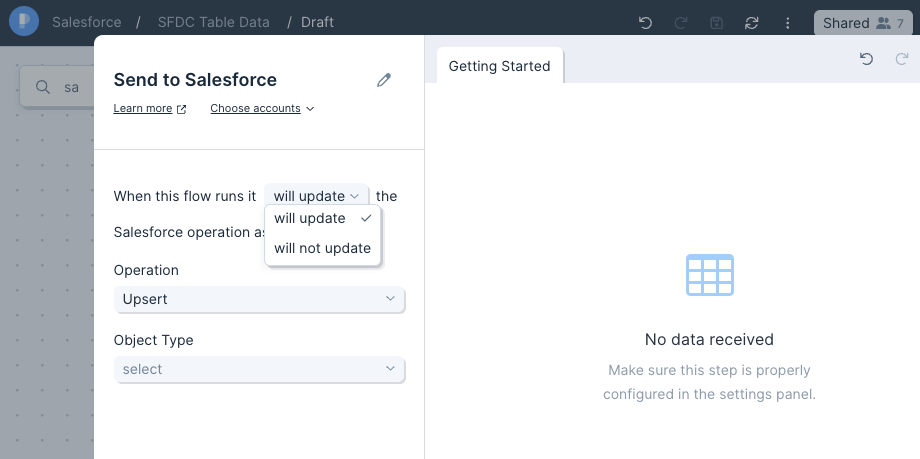
The default Operation will be to Upsert, which will map your data to existing records and create new records if there is no match. You can also select Insert, which will only create new records, but this may create duplicate records.
Custom settings
Select the appropriate Object Type to ensure your records are correctly mapping to your CRM. These Object Types are similar to the Pull from Salesforce step, and include Account, Opportunities, Contact, amongst others.
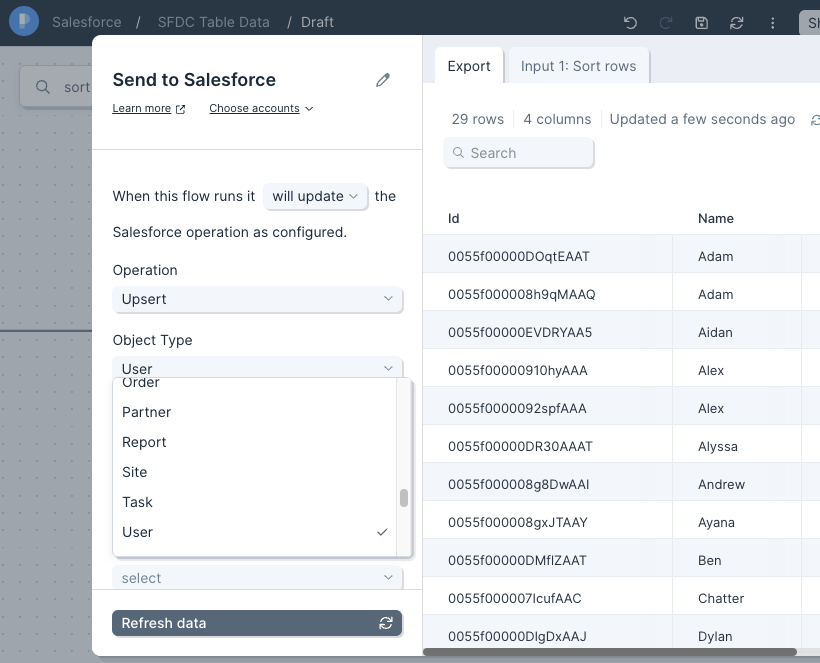
All columns must be mapped to their corresponding Salesforce fields, and the Upsert operation requires a column to be apped to "Id". This is the Id of the object you are targeting, such as lead or contact. To map your columns, click the dropdown menus and select each matching Salesforce field. The names of your columns do not need to match the fields.

Helpful tips
- The Send to Salesforce step will not connect to Salesforce Essential accounts.
- Salesforce ignores empty values when updating records. To upsert (replace) existing values with blank values, replace your blank field values with #N/A. You can use the Find and replace step to accomplish this.
- The Salesforce API may send back a "success" response, even if there were errors in the request. If you're able to access SF Setup Page -> Bulk Data Load Jobs, you'll be able to see the data loads from the last 7 days. Find the Job related to the Parabola upload to view the result of the upload, along with error messaging to get a better understanding of any upload errors.