- Renaming your flow
- Adding a description to your flow
- Deleting your flow
- Turning on summary emails
- Managing flow failure settings
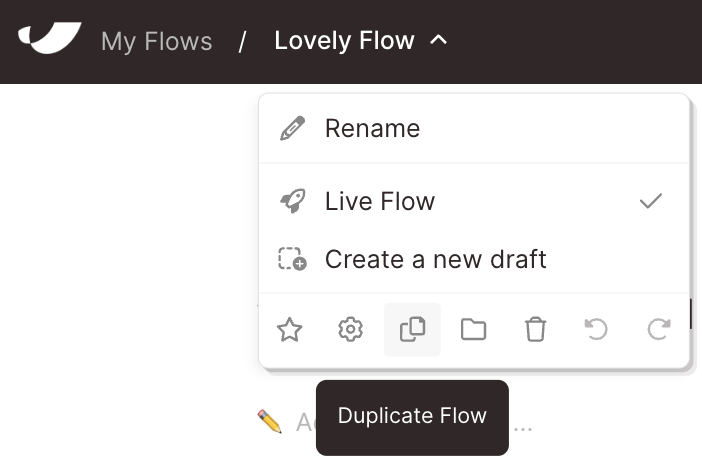
- Duplicating your flow
Renaming your flow
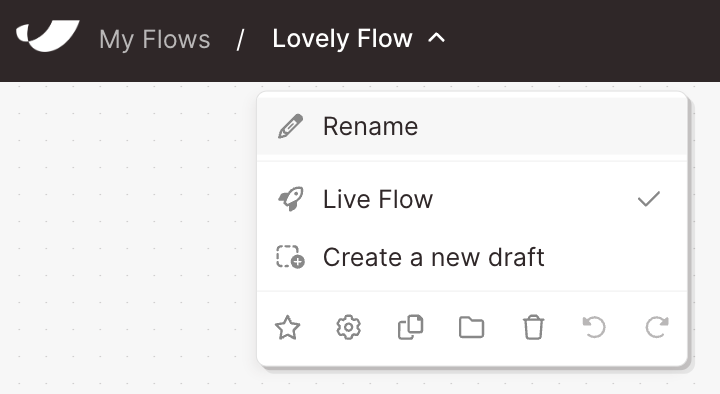
You can rename your flow by clicking on the current name of your flow in the header bar. Select “Rename” and edit your flow name inline.You can also rename it from your flows page by opening the overflow menu, selecting “flow settings,” and typing into the “flow name” field.
Adding a description to your flow
Add a description to your flow to summarize what it does, or explain how to use it. This is particularly useful if you’re collaborating on flows with multiple team members. To write a flow description, click the flow title to open a dropdown menu, and select the gear icon. You can also add a description from the Dasboard by clicking into the pencil icon “Add a description” field. You can also update the flow description from the flows page. Open the overflow menu, and select “flow settings”. Enter the description you’d like in the “flow description” field and click “Save”.Deleting your flow
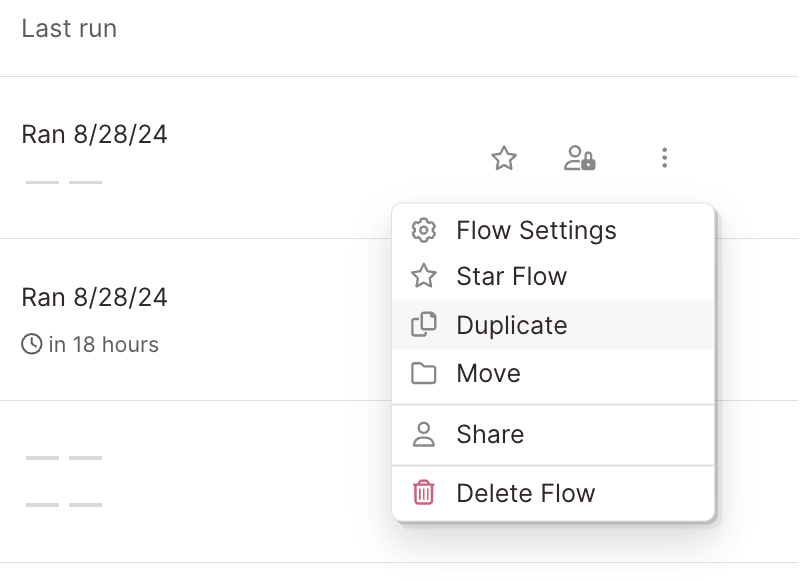
To delete a flow, you can either delete it from within the builder (using the navigation bar menu), or from your flows page (using the overflow menu).Turning on summary emails
By default, summary emails are turned off for successful runs, and turned on for fully or partially failed runs. Users with edit permissions will receive these emails and can choose what kind of summary email they would like to receive. To enable summary emails for successful runs, go to the flow settings page and enable the toggle for “Receive an email every time flow is run”. (Don’t forget to click “Save”!)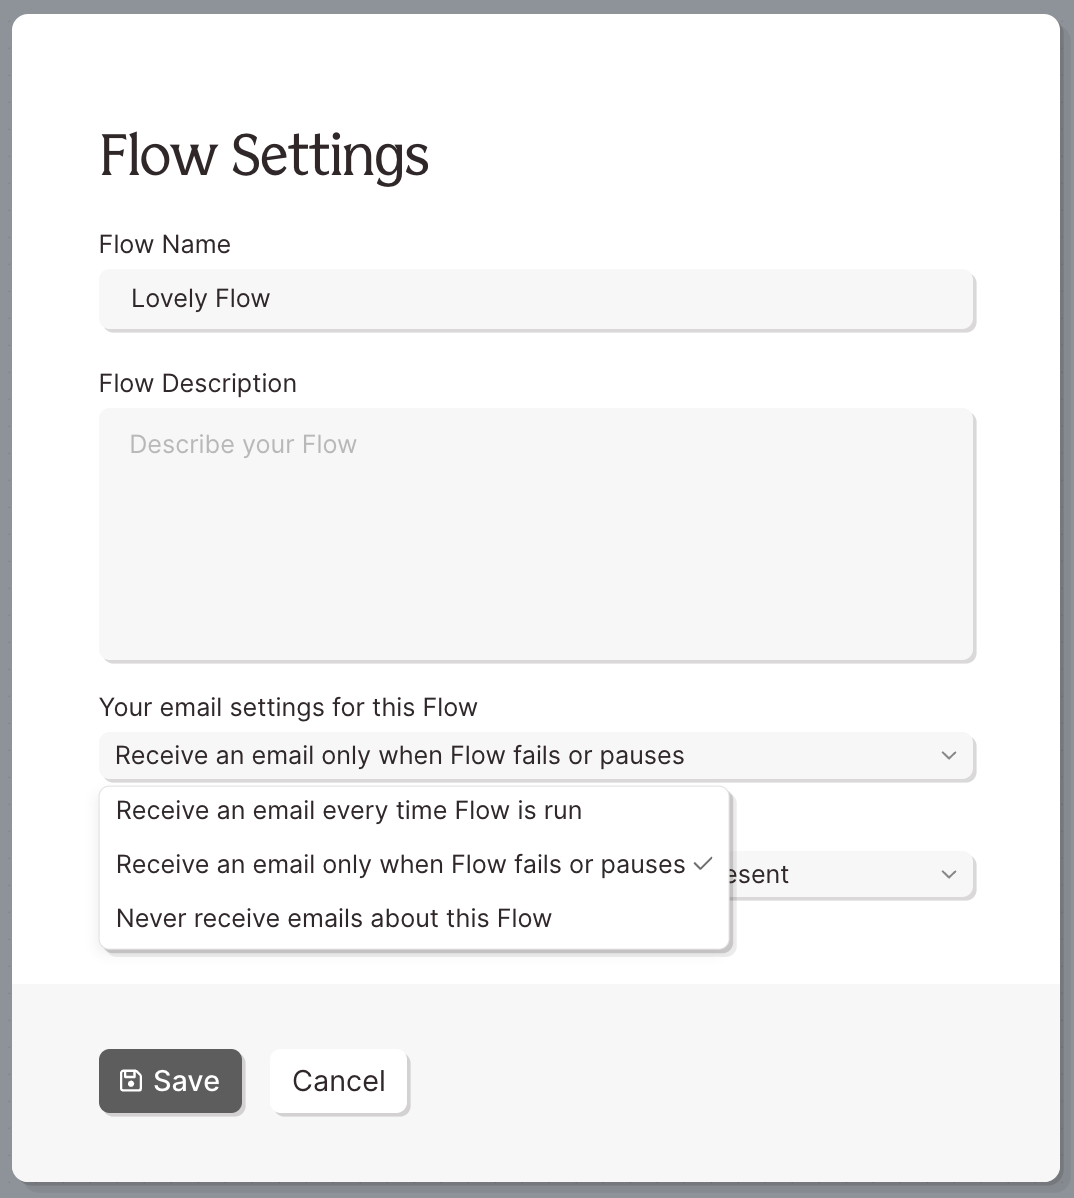
Managing your flow failure settings
By default, scheduled flows will automatically pause after 10 consecutive failures. This helps prevent repeated failures from continuing to run unnoticed. If you’d like your flow to keep running even after 10 failures, you can change this setting:
With this setting turned off, your flow will continue running regardless of consecutive failures.
Duplicating your flow
You can duplicate an entire flow in two ways: either from within the flow builder (using the navigation bar menu), or from your flows page (using the overflow menu). This will create a copy of your flow, in the same location.